Behind the Portrait of Dorian Grey - short overview
Inspiration
I had a bad time when I could not sleep because of some problems and so I tried to think of something else
and I came up with this : ) I had no inspiration for my characteres, no concepts or sketches.
These creatures were created piece by piece durign few weeks.
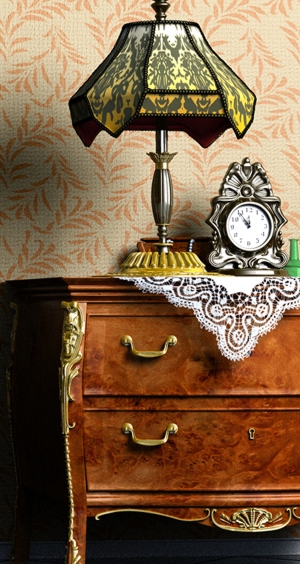
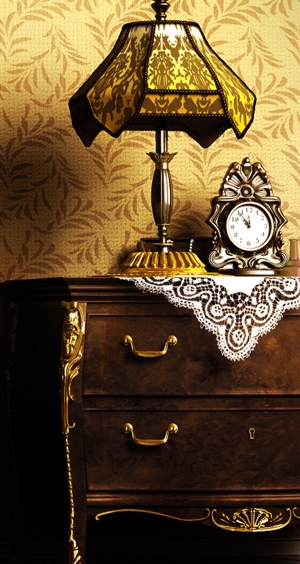
References of a chair, clock, chair, lamp and desk could be found on internet.
Modeling
All parts of this scene was modeled as Editable polygonal objects.
Clock - Body was modeled as Editable poly with symmetry modifier applied.
For base of the clock I used line and Lathe modifier. Hands of clock are extruded closed line.
Curtain - I started with plane with wave modifier. Then was converted to editable poly. After the modeling was finished
I used shell modifier to give the curtain thickness. Lastly the meshsmooth modifier.(iteration 2) was added.

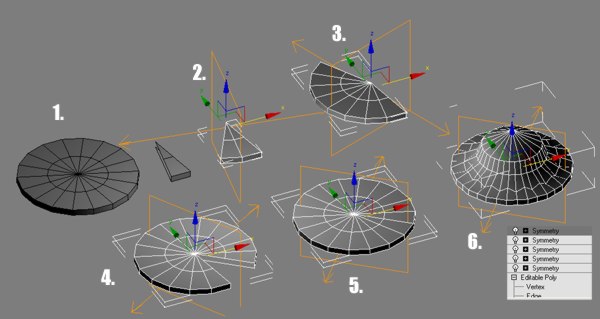
Desk Lamp - I started with cylinder (1) then I deleted all segments except one and used first symmetry modifier(2)
I applied symmetry modifiers until I got new cylinder. Then I just played with editable poly and
symmetry modifiers which make lamp symmetrical. (6)
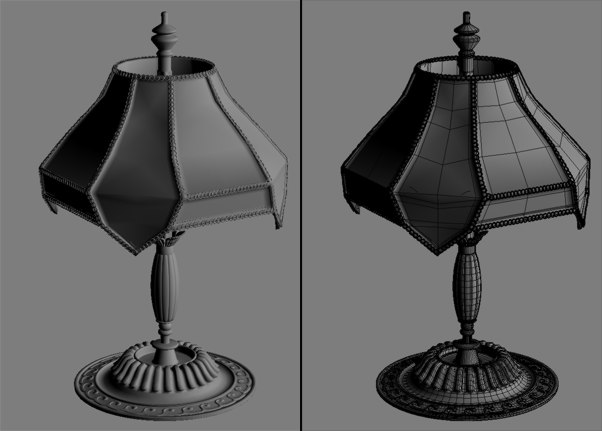
Other parts of lamp was created analogically.
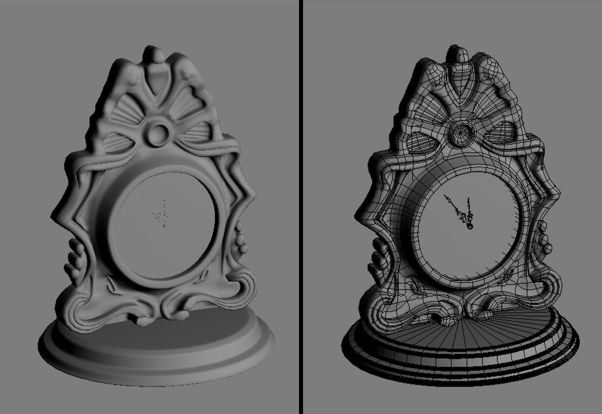
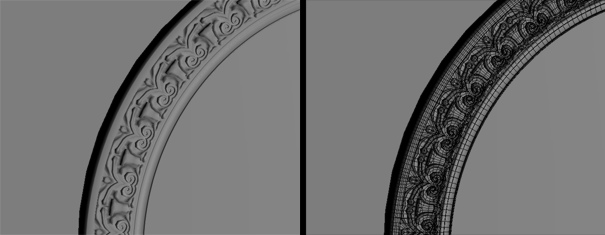
Picture Frame - same process as with desk lamp base.
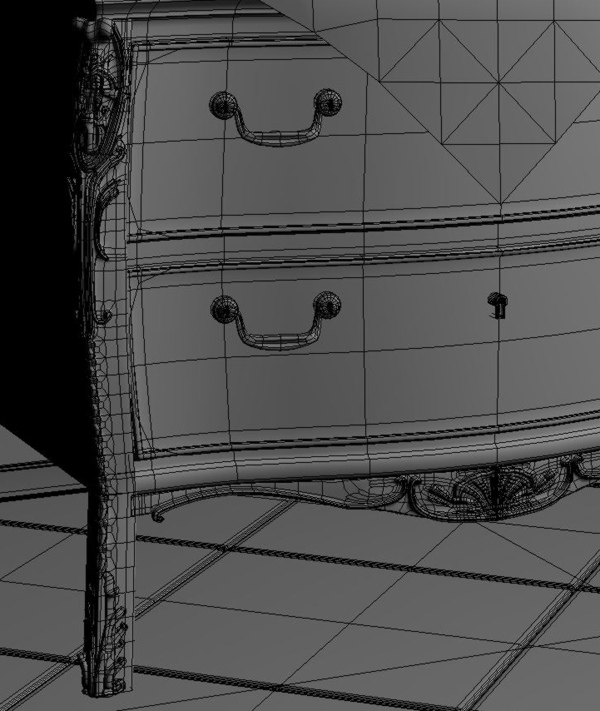
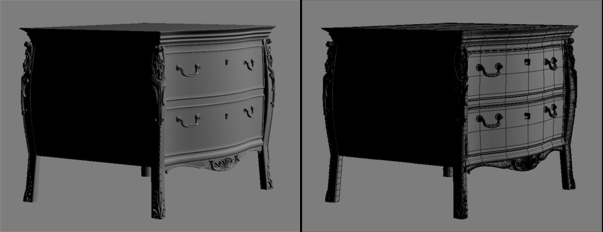
Desk - editable poly modeling. Also used symmetry modifiers.
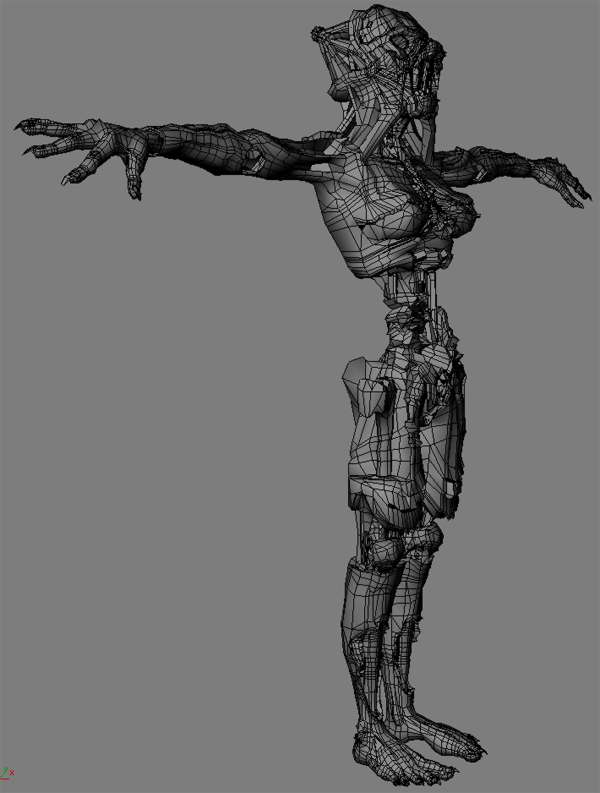
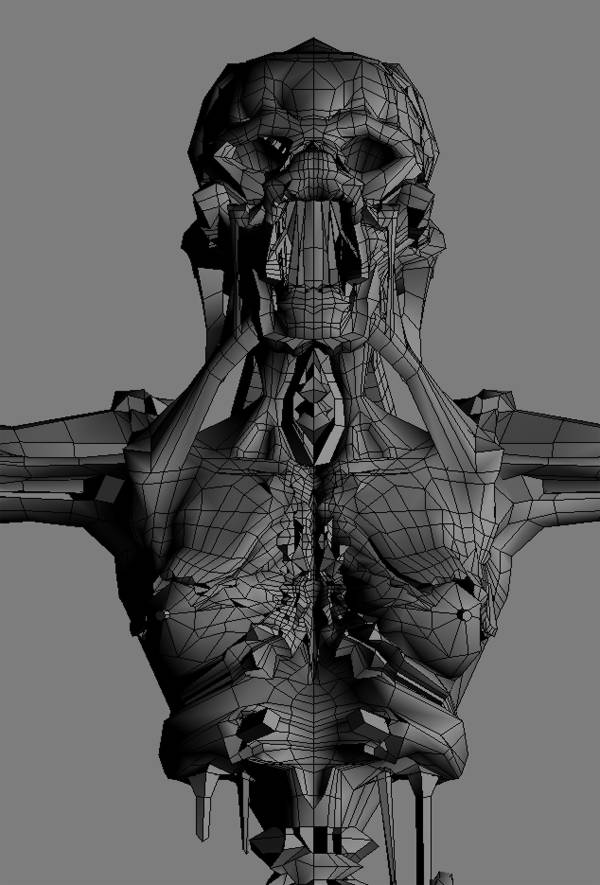
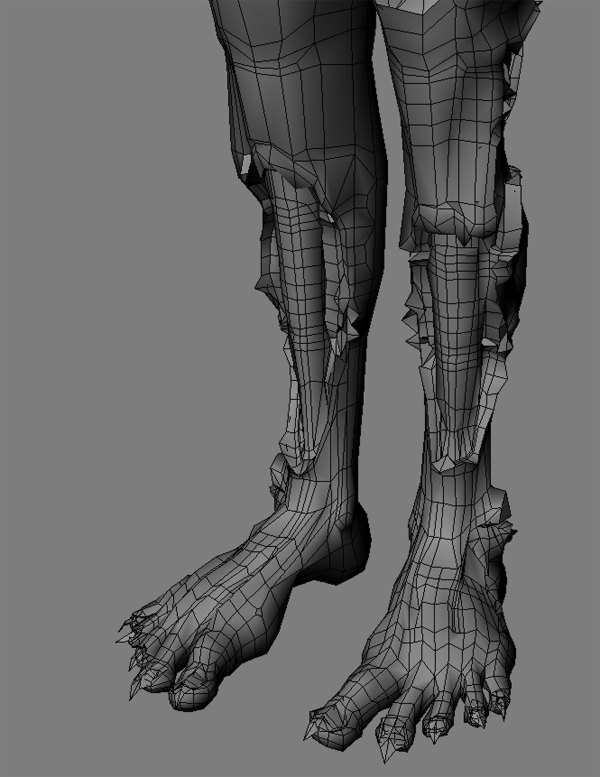
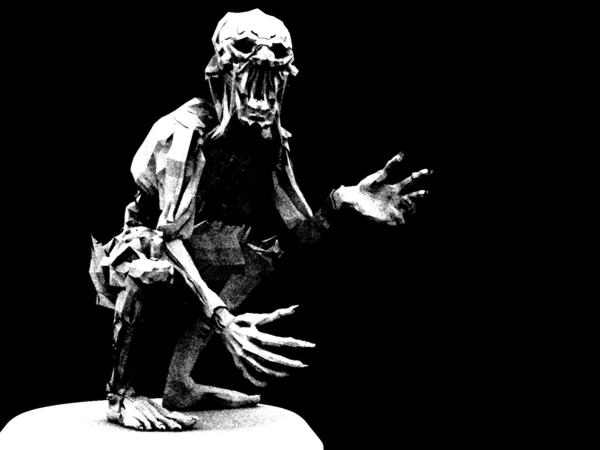
Dorian Grey - just editable polygonal object with symmetry modifier and never ending playing with
poly tools like cut, ring, loop, connect, extrude, bevel, insert... All these functions are very well
described in User reference in 3ds max very well. When symetrical model was done I used edit mesh modifier
to make asymetrical parts of model. There are other ways to achieve this for example, you can convert it
to Editable poly again and then model asymetrical parts.
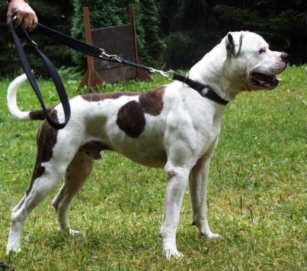
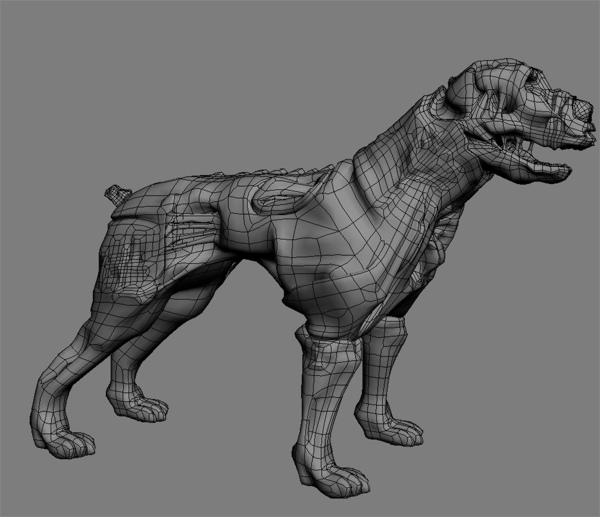
Dog - I used this reference which I found on Google... It is very important to have some references when you
create something. IIt can
be very valuable when you are creating proportions of the model.
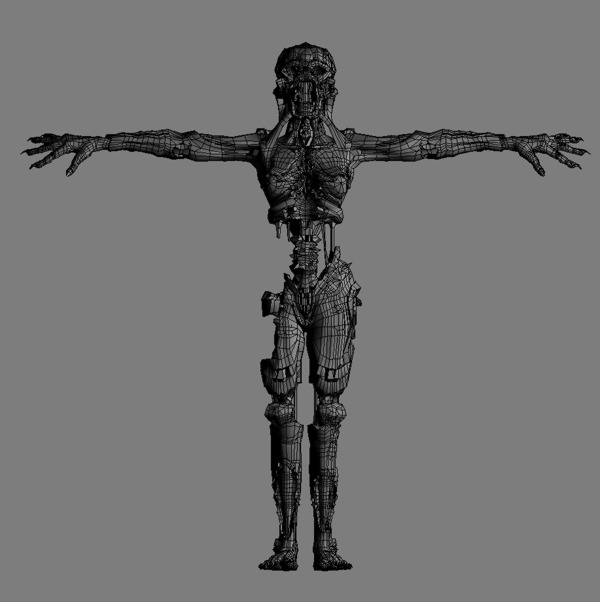
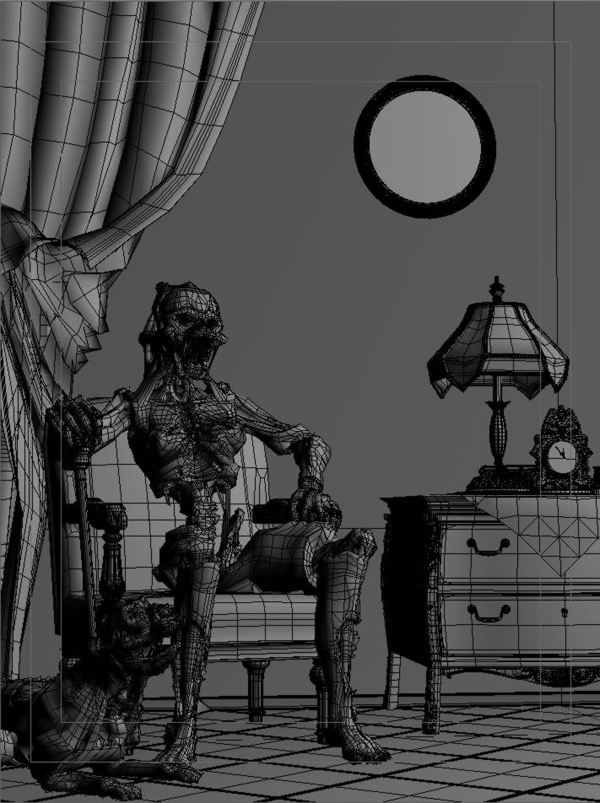
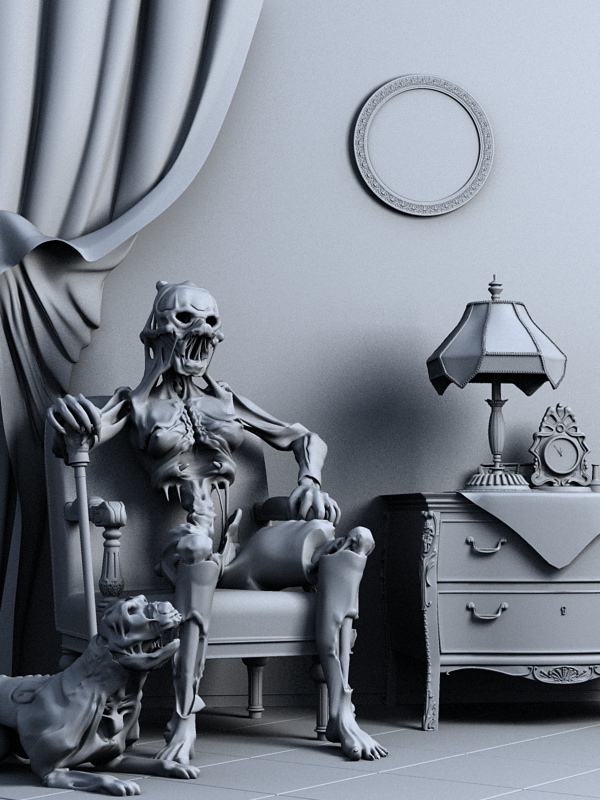
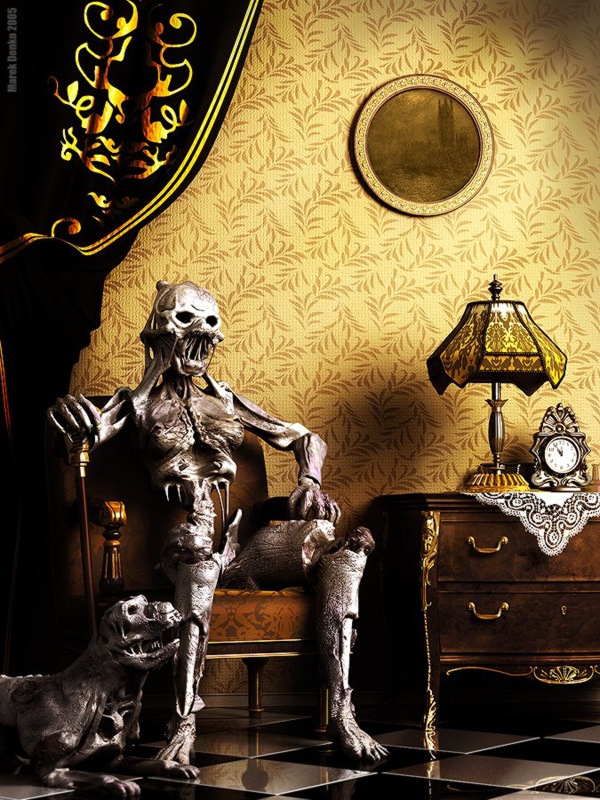
Completed scene
faces before meshmoothing: 377 932
faces after meshmoothing: 1 352 065
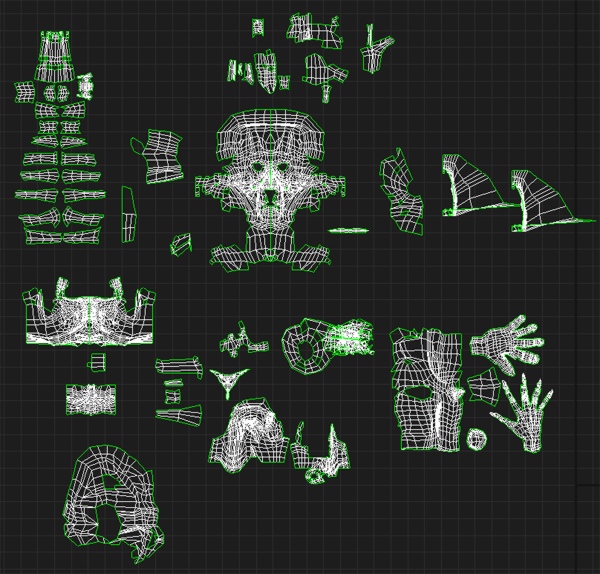
Unwrapping
Following figure shows unwrapped model of Dorian. Working on it was really boring . Please note
that this is not unwrap in final position. I only want to show you all in one. There was a lot of
planar and cylindrical mapping applied. Then it was modified with Unwrap tools in 3dsmax to final
shape. With the help of Texporter I exported UV
maps to Photoshop.
Texturing
The base texture of Dorian and his dog was taked from a photo of a dead bird. It was taken a long time ago.
All my friends thought I'm freak but I knew that one day it will be useful. Other textures of wood or patterns
were taken from internet or from my texture library.
Riging and skining
For riging I used Biped from Character Studio then skin modifier.Then I played whit Weights and Morph gizmos.
Skin modifier is just a toy desinged to playing... ;)

... and biped for dogy...
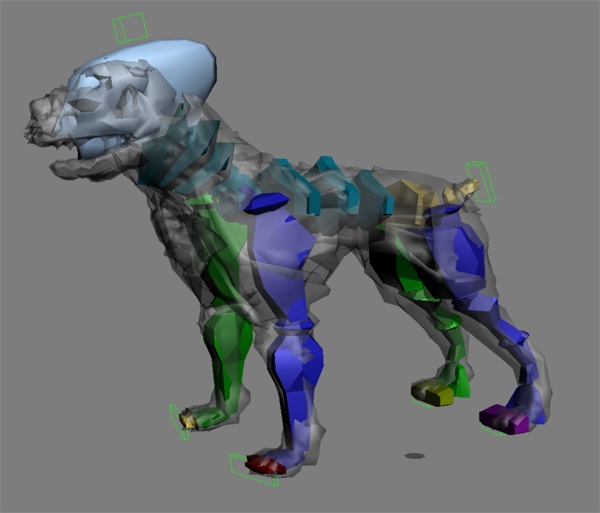
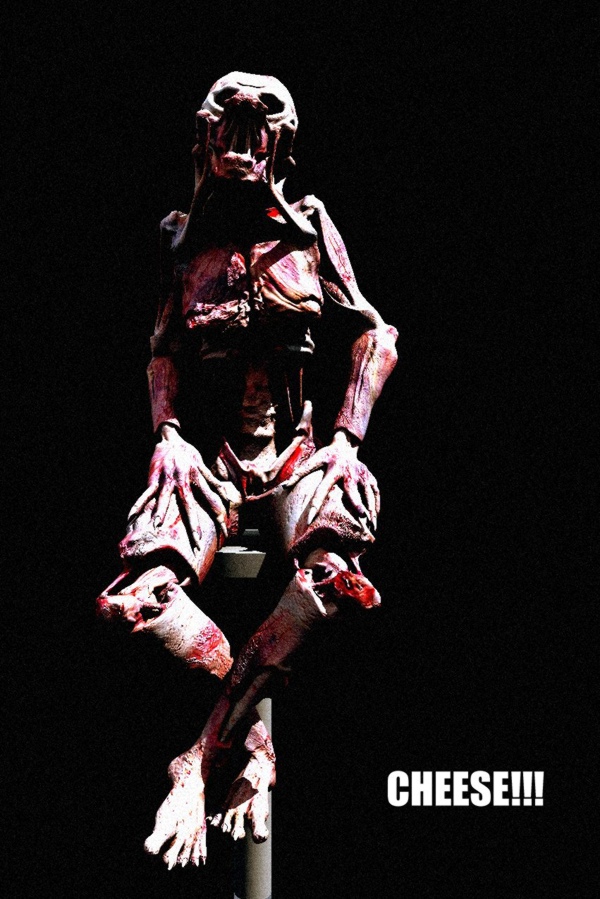
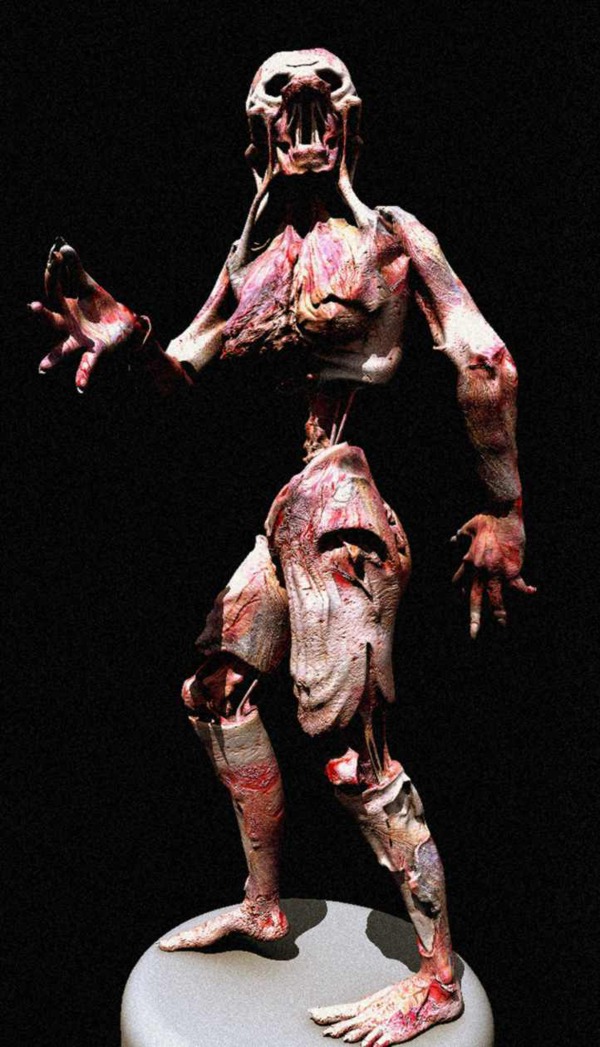
here are three of many tests that I made:
Lighting
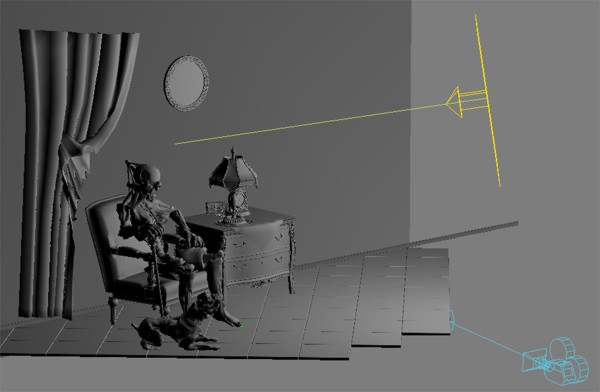
When the characters were finished it was time to think about some environment. I started with placing
of (primitive) simple objects on the scene. I do this all the time when I create a scene.At the beginning,
I placed simple objects on the scene and set up the lighting. When I was satisfied I started to place
there high poly models. Some of them were modeled only after the lights were set up.
In this case there is skylight and one rectangle light with areashadows from top right as you can see below:
Here is render without textures and materials.
Materials
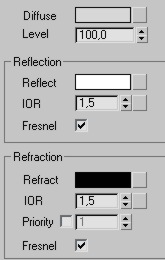
All materials are fr-advanced type. Especially I want focus on reflections
Grey big sphere has fr - advanced material with 1,5 IOR and checked Fresnel.
Sphere 1 is standart material with white in diffuse and 100 self illumination.
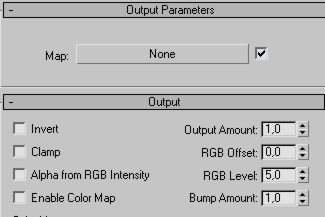
Sphere 2 is just like Sphere 1 but in diffuse slot have output map and
RGB level 5,0. Standart value is 1. Change to 5 will has effect on reflection
on big Sphere. As you can see reflection of sphere 2 is more brighter then reflection
of first one.
Sphere 3 is just like sphere 2 but RGB level is 10 and that means brighter reflecion on big one.
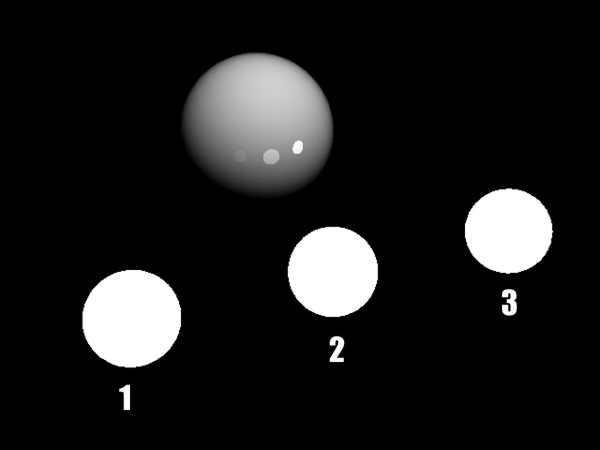
And why I talking about it? I have one self-illuminated plane in scene which can be seen only in reflection.
Actually I don't like specular same way like ambient. I'm using reflection as in real world. In real world there is no speculars
only reflecions. I know that reflections have higher hardware requirements but in animations I'm using them.
Rendering
I used Final Render Stage-1 for Rendering. 4/16 samples for Anti-aliasing and 16/64 samples for
bottom of image because of floor. With 4/16 there was still sharpen edges so I used 16/64 samples and render
such a bottom part of image as region. I'm using Catmull - Rom or Mitchell - Netravali AA filters.
There are 128 samples for skylight and for rectangle light.
Postproduction
As you can see there are color , brightness / contrast corrections. These were done because I wanted
to achieve deep, portrait looking picture with some feel inside.
...and at last here is final picture...
I hope this short overview has given you something... ;)
Marek Denko 2005